id="trbo-above-first-editorial"
id="trbo-below-fragment-0"

id="trbo-below-fragment-1"
id="trbo-below-fragment-2"
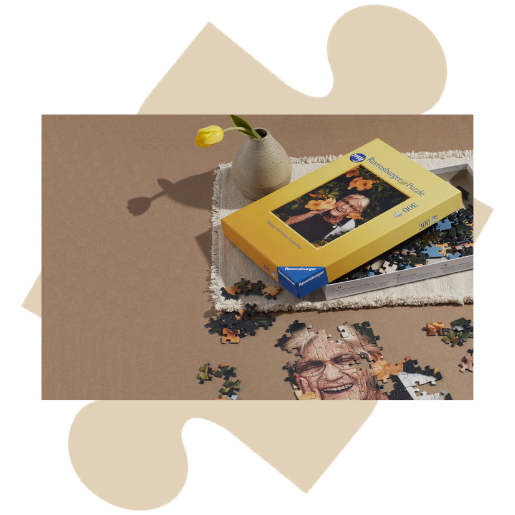
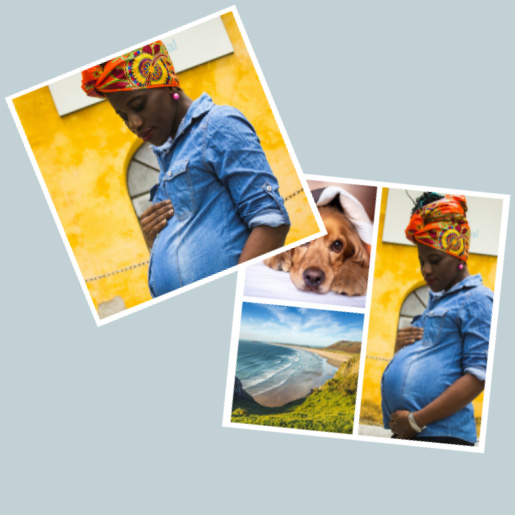
A Photo Puzzle for Everyone
Explore our collection of personalized photo puzzles loved by over 100K happy customers.
id="trbo-below-fragment-3"
"Ravensburger puzzles are super high quality and their custom photo puzzles are no exception."
- Karen Puzzles


id="trbo-below-fragment-4"


id="trbo-below-fragment-5"
id="trbo-below-fragment-6"

id="trbo-below-fragment-7"
id="trbo-below-main-content"